This week my mug broke, the one I was was working on for the last two weeks. It's very frustrating when you have to start from scratch with a dead line. I decided to take clay home and start over there, instead of getting through the project with a crappy replacement. I did save the handle from the broken mug and wrapped it in wet paper towels and plastic wrap for an hour. It was like brand new clay, so it was easy to place the handle on the new mug. I went with a different design, with a K, a moon and sun. I also used a DD cup to keep this new mug round. I also designed my next project which is my interpretation of the cube project. As well as the pinch pots got fired (next post)
The first design I choose was the phoenix, but it broke so it was reborn as the sun and moon.
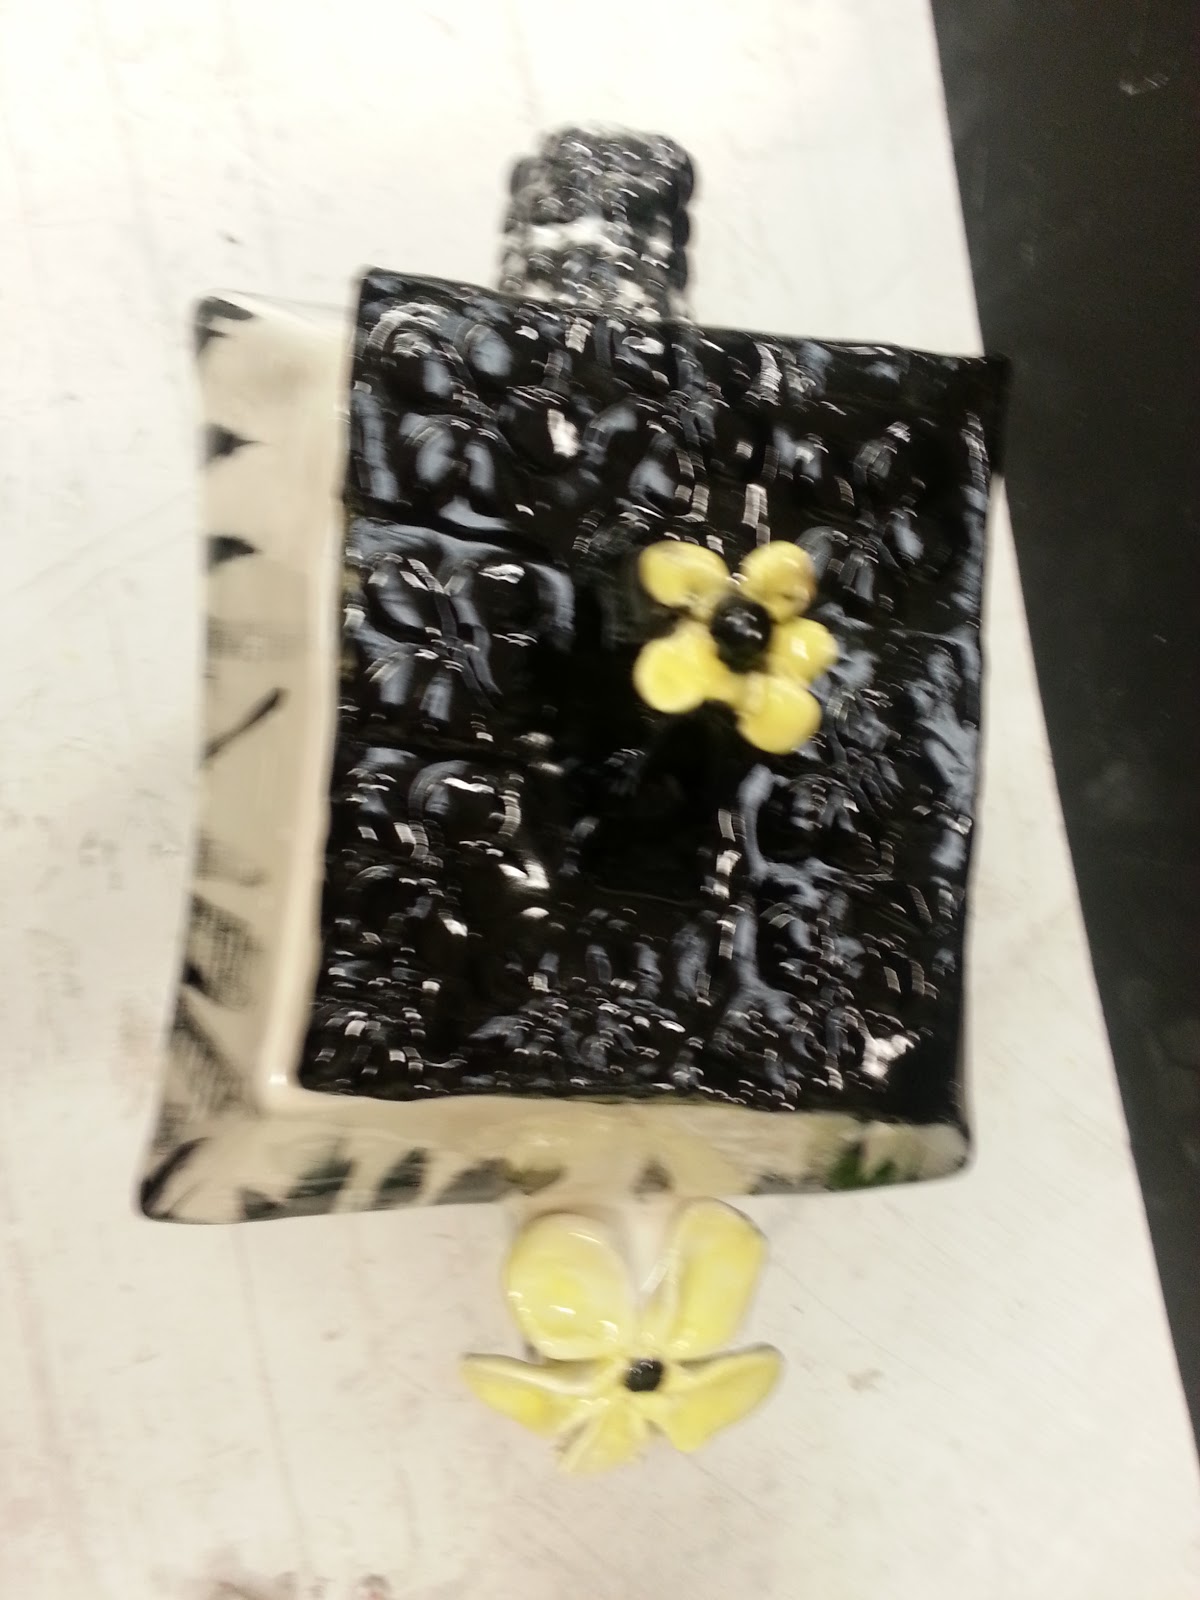
Here is the new mug and old handle
The tools
Making it round(er)
Attached!
Sun
K
Moon
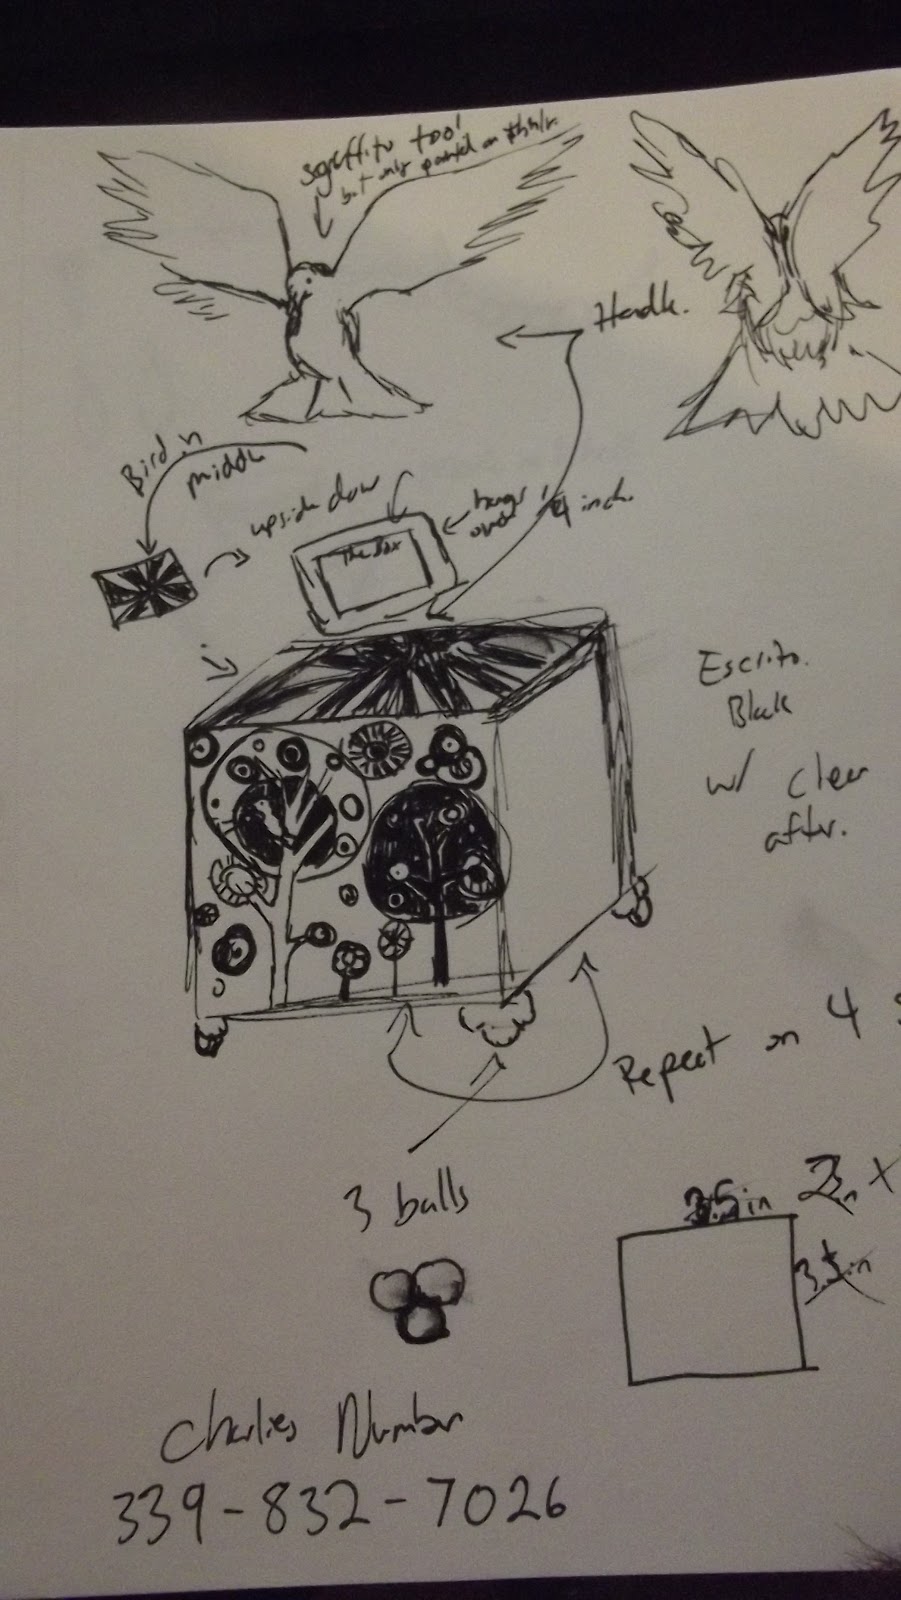
For the "Combination" project I plan on making a teapot with the following pieces and dimensions.


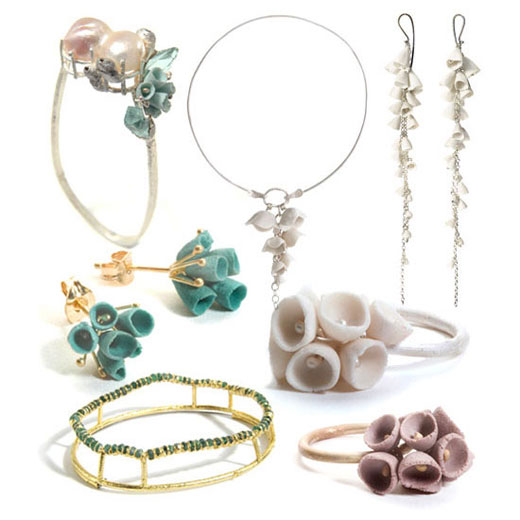


 just one of the many
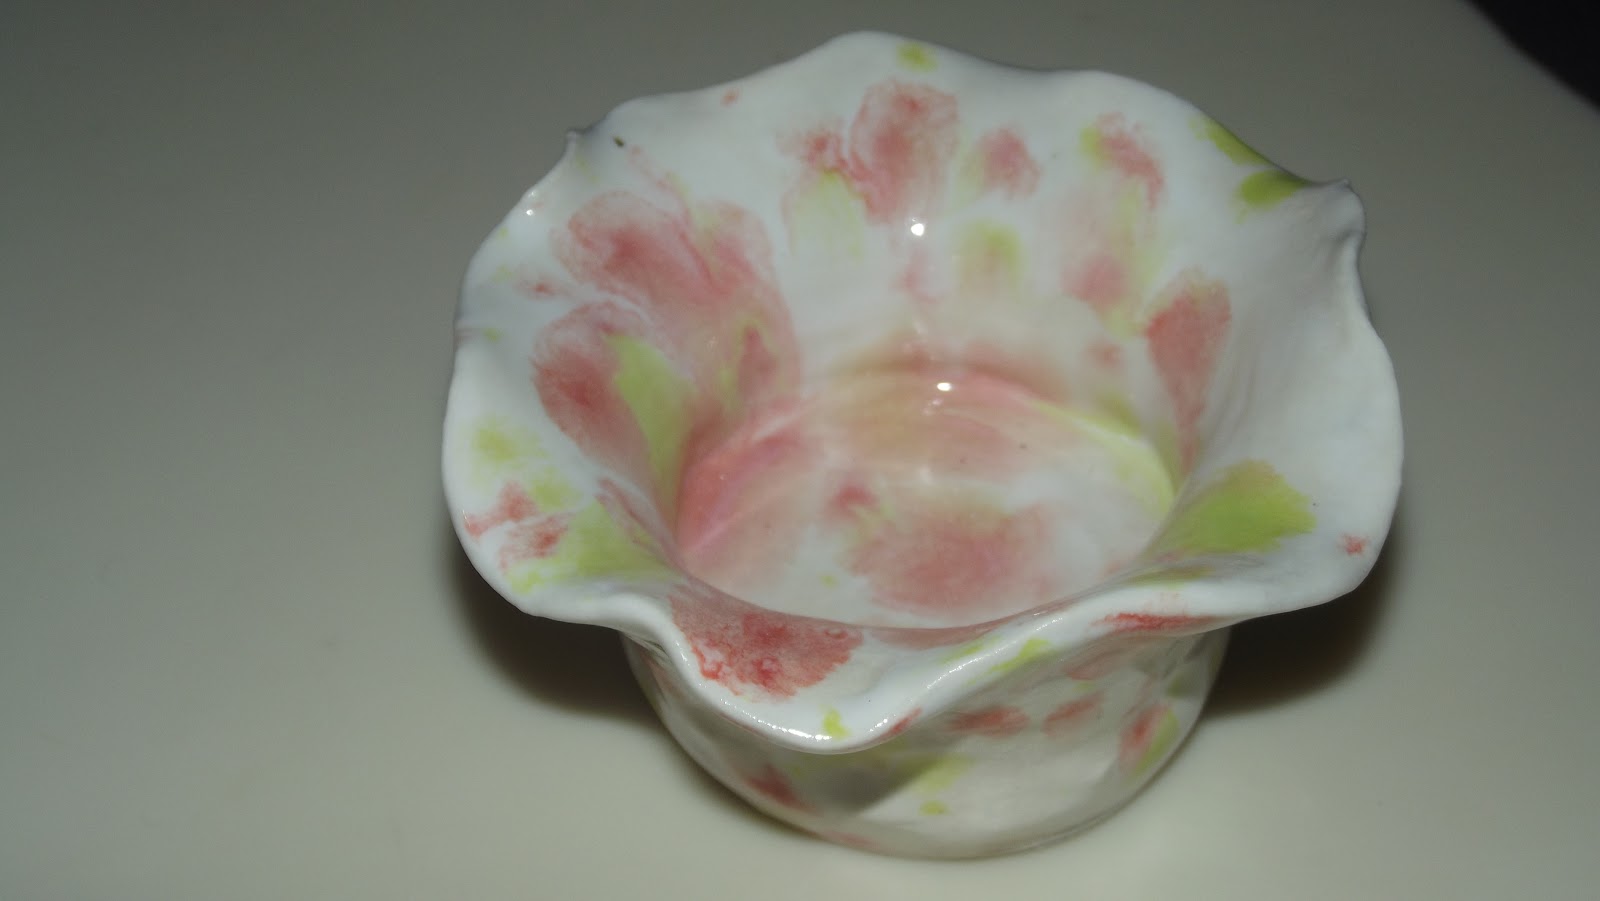